Many Denver patients ask the same question before committing to veneers: what actually happens to your real teeth first? Understanding what happens to your real teeth before veneers bond on in Denver helps you walk into that consultation with confidence. The process involves more than simply gluing a thin shell onto your tooth. Dr. Rana Sweis at Smile Studio Dental – Denver walks every patient through each step before any work begins.
Your Veneer Consultation: Where Everything Starts
The journey begins with a thorough consultation. Dr. Sweis evaluates your existing teeth, gum health, and bite before recommending veneers. Not every tooth is a candidate, so this step matters enormously. She also reviews your smile goals to make sure veneers are the right solution for you.
Digital photos and sometimes X-rays are taken during this visit. These images help map out exactly how your veneers will look and fit. You will also discuss shade options at this stage. Choosing the right shade early prevents surprises later in the process.
If you feel anxious about dental visits, Dr. Sweis offers Dental Sedation Denver patients rely on to stay comfortable throughout treatment. Sedation can be used during both the preparation appointment and the bonding appointment. You simply tell the team about your concerns, and they will build a plan around your comfort level.
What Happens to Your Real Teeth Before Veneers Bond On in Denver
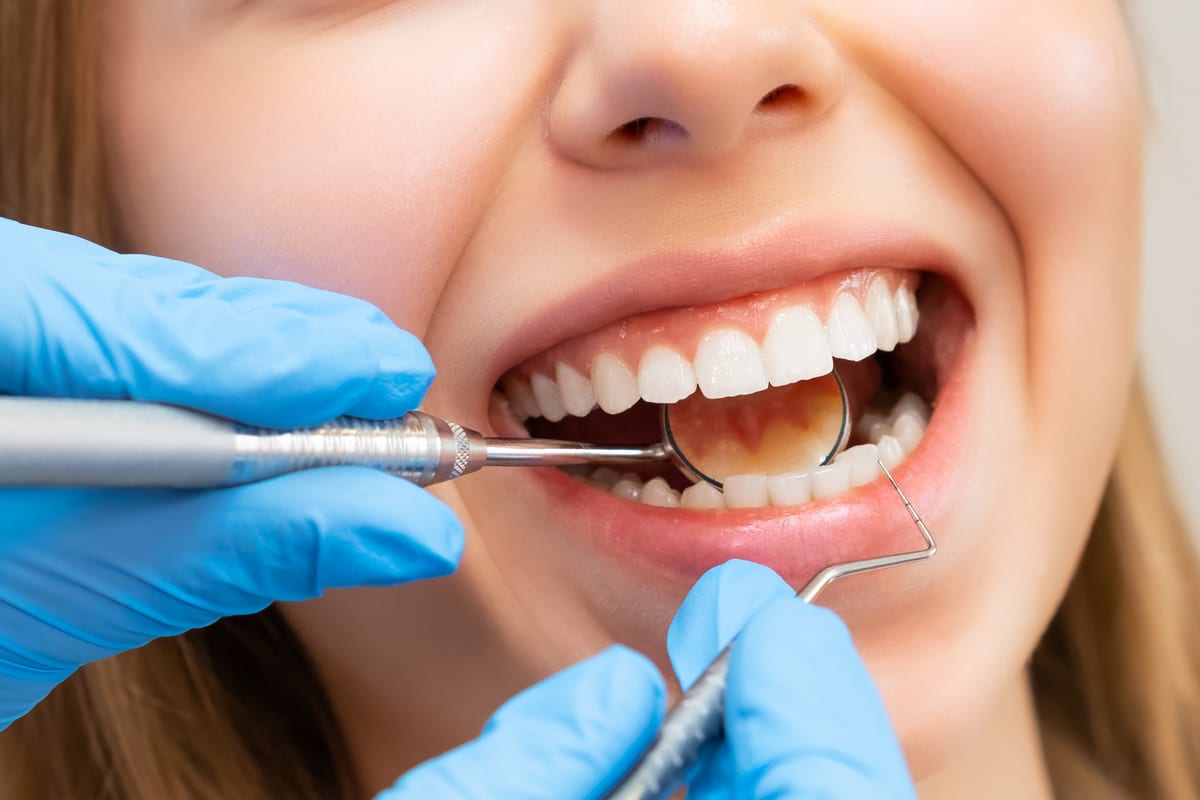
This is the stage most patients are curious — and sometimes nervous — about. Preparing your natural teeth is essential for a proper fit. Without this step, veneers would sit too far forward and look unnatural. The preparation process is precise and controlled.
Dr. Sweis removes a thin layer of enamel from the front surface of each tooth receiving a veneer. The amount removed is typically between 0.3 and 0.7 millimeters. That is roughly the same thickness as the veneer itself. This creates the necessary space for the porcelain to sit flush with your surrounding teeth.
Here is what the tooth preparation process involves, step by step:
- A local anesthetic is applied to keep you completely comfortable
- A small amount of enamel is removed from the front and sometimes the edge of the tooth
- The tooth is shaped and smoothed to create an ideal bonding surface
- Impressions or digital scans are taken of the prepared teeth
- Those impressions are sent to a dental lab to fabricate your custom veneers
Because enamel does not grow back, this step is irreversible. Dr. Sweis takes time to explain this clearly before any preparation begins. Patients who understand this commitment tend to feel more satisfied with their decision long term.
The Temporary Veneer Phase: Protecting Your Prepared Teeth
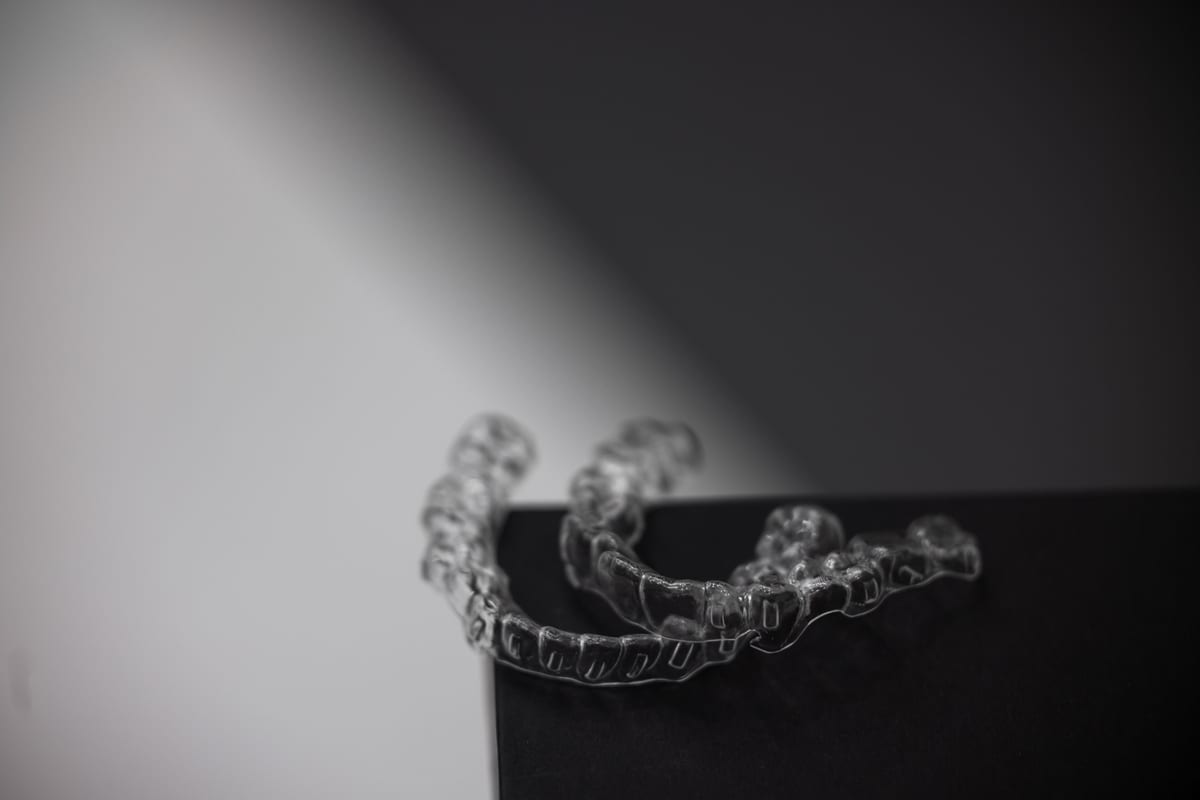
Once your teeth are prepared, they need protection while the lab creates your permanent veneers. Temporary veneers are placed over your prepared teeth during this waiting period. They look similar to your final result and protect the sensitive enamel underneath. Most patients wear temporaries for one to two weeks.
Temporary veneers are not bonded as strongly as permanent ones. You should avoid hard, sticky, or crunchy foods during this phase. Be gentle when flossing around them as well. If a temporary comes off, contact Smile Studio Dental – Denver right away so it can be re-seated.
This phase also serves a practical purpose beyond protection. It gives you a preview of your new smile length and shape. If something feels off — too long, too short, slightly too wide — you can communicate that to Dr. Sweis. Adjustments can still be made to the lab instructions before your final veneers are completed.
Shade Selection: Getting the Color Right Before Bonding
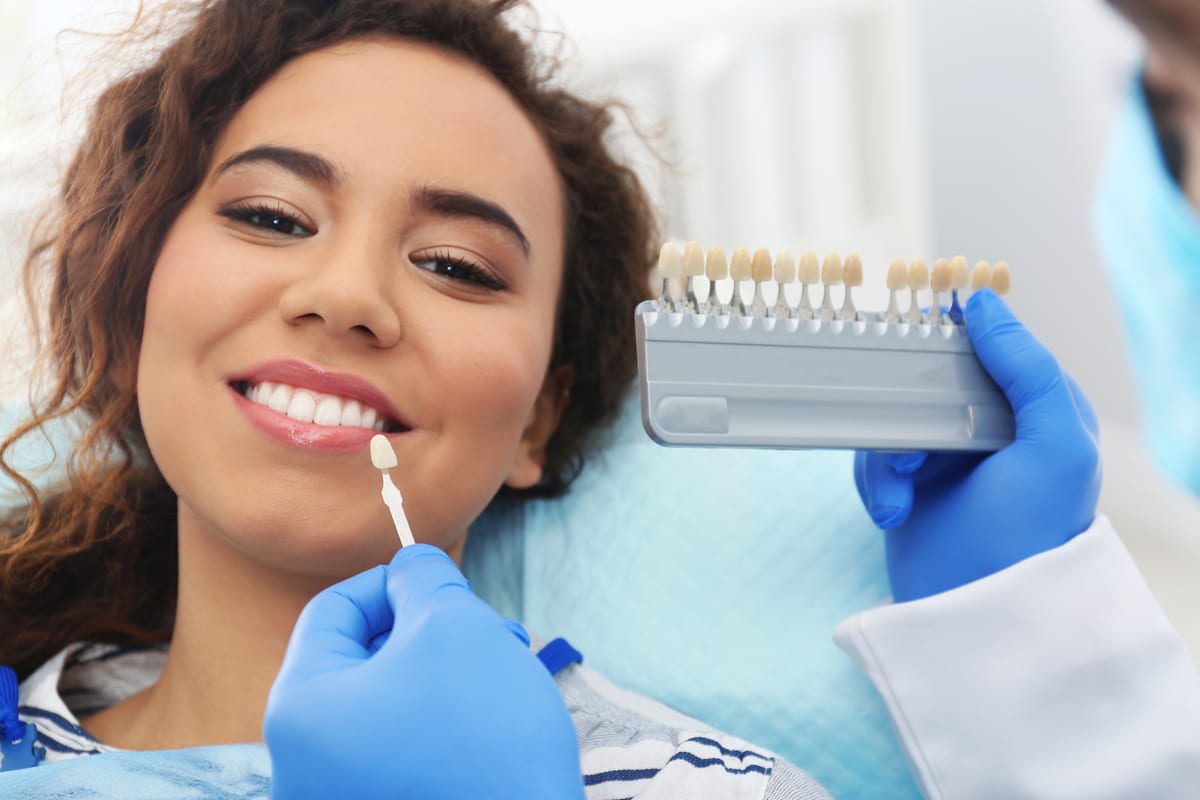
Choosing the right shade is one of the most personal decisions in the veneer process. Most patients want a natural-looking result rather than an obviously artificial one. Dr. Sweis uses a shade guide to compare options against your skin tone, eye color, and existing teeth. Good lighting conditions make a real difference during this conversation.
There are benefits to thinking carefully about shade before committing:
- A shade that is too white can look unnatural against your skin tone
- A slightly warmer shade often looks more lifelike under varied lighting
- Matching adjacent teeth prevents visible color mismatches
- The shade you choose is permanent once the veneer is bonded
- Photos from your consultation help compare options side by side
If you are also considering other restorative work — such as Dental Implants Denver patients sometimes combine with veneers — shade coordination across all restorations is critical. Dr. Sweis plans for a cohesive result across your entire smile. She considers every tooth visible when you smile, not just the ones receiving veneers.
The Final Bonding Appointment: Bringing It All Together
When your permanent veneers arrive from the lab, you return for the bonding appointment. Dr. Sweis first places each veneer without adhesive to check the fit and shade. You get to see them in your mouth before anything is permanently attached. This trial placement is your opportunity to confirm you love the result.
Once you approve the look, the bonding process begins. Each tooth is cleaned and etched with a mild acid solution. This roughens the surface slightly to improve adhesive grip. A special dental cement is then applied to bond the veneer firmly in place.
A curing light hardens the cement in seconds. Dr. Sweis checks your bite carefully after each veneer is placed. Any rough spots or excess cement are polished away. You leave the office with a fully bonded, permanent new smile.
Caring for Your Veneers After Bonding
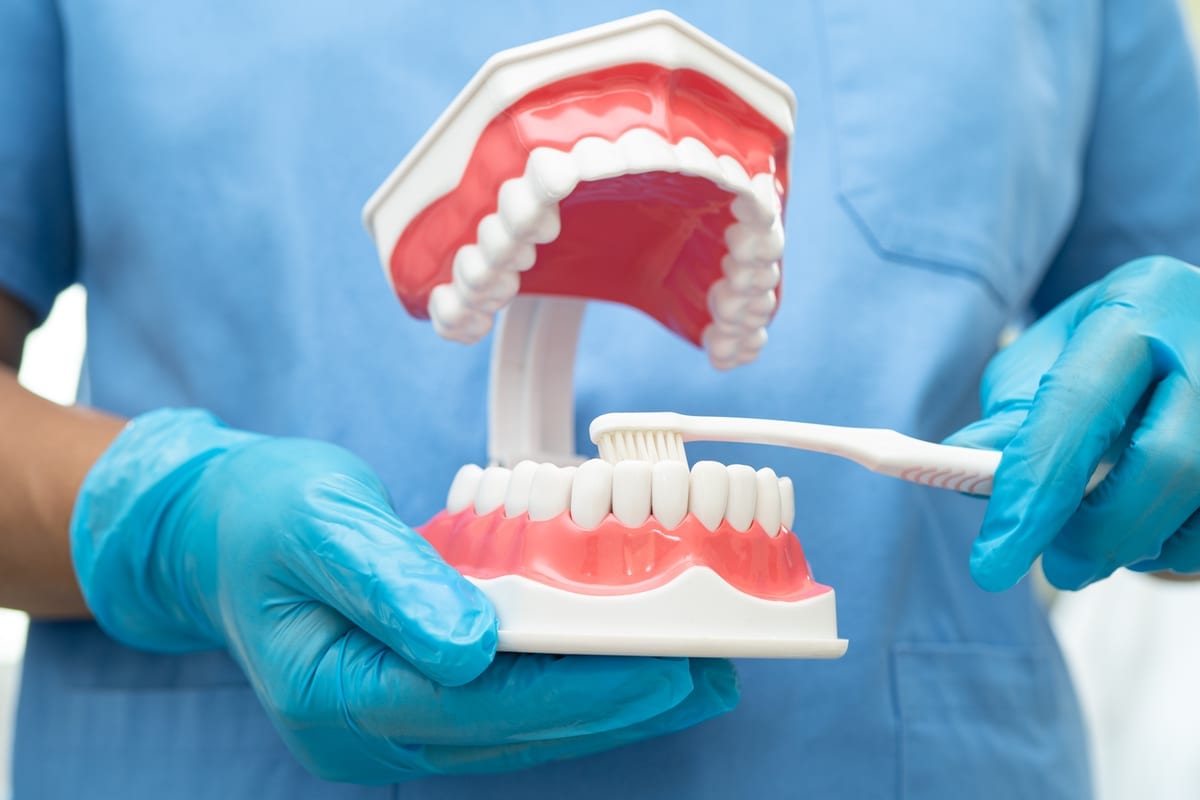
Veneers are durable, but they still require proper daily care. Brushing twice daily with a non-abrasive toothpaste protects the porcelain surface. Flossing once a day keeps the gum line around each veneer healthy. Routine visits to Smile Studio Dental – Denver allow Dr. Sweis to monitor them over time.
Avoid biting fingernails, ice, or hard candies with your veneered teeth. These habits can chip porcelain just as they can chip natural enamel. If you grind your teeth at night, a custom nightguard protects your investment while you sleep. With good habits, veneers can last ten to twenty years or longer.
Frequently Asked Questions
Does tooth preparation for veneers hurt?
Most patients feel no pain during preparation because local anesthetic is used. You may feel some pressure or vibration, but discomfort is minimal. After the appointment, mild sensitivity is common and typically fades within a few days.
How much enamel is actually removed for veneers?
Dr. Sweis removes between 0.3 and 0.7 millimeters of enamel from the front surface of each tooth. This is a very small amount — roughly equal to the thickness of the veneer itself. The goal is a flush, natural fit with your surrounding teeth.
Can I eat normally while wearing temporary veneers?
You can eat most foods, but you should avoid anything hard, sticky, or extremely crunchy. Temporaries are not bonded as strongly as permanent veneers. Treating them gently protects your prepared teeth until the permanent ones are ready.
How long does the full veneer process take?
Most patients complete the entire process in two to three appointments over two to four weeks. The consultation, preparation, and bonding visits are spread across that timeframe. Lab fabrication time accounts for most of the waiting period between appointments.
Are veneers a permanent change to my teeth?
Yes. Because enamel is removed during preparation, veneers are considered a permanent commitment. Your teeth will always need to be covered by veneers or another restoration going forward. Dr. Sweis explains this fully during your consultation so you can make a fully informed decision.
Ready to see exactly what your smile could look like? Dr. Rana Sweis and the team at Smile Studio Dental – Denver are here to guide you through every step with clarity and care. Book Now to schedule your appointment with our team.